
Make: Hanging a Photo Gallery Wall
Message from Maggie:
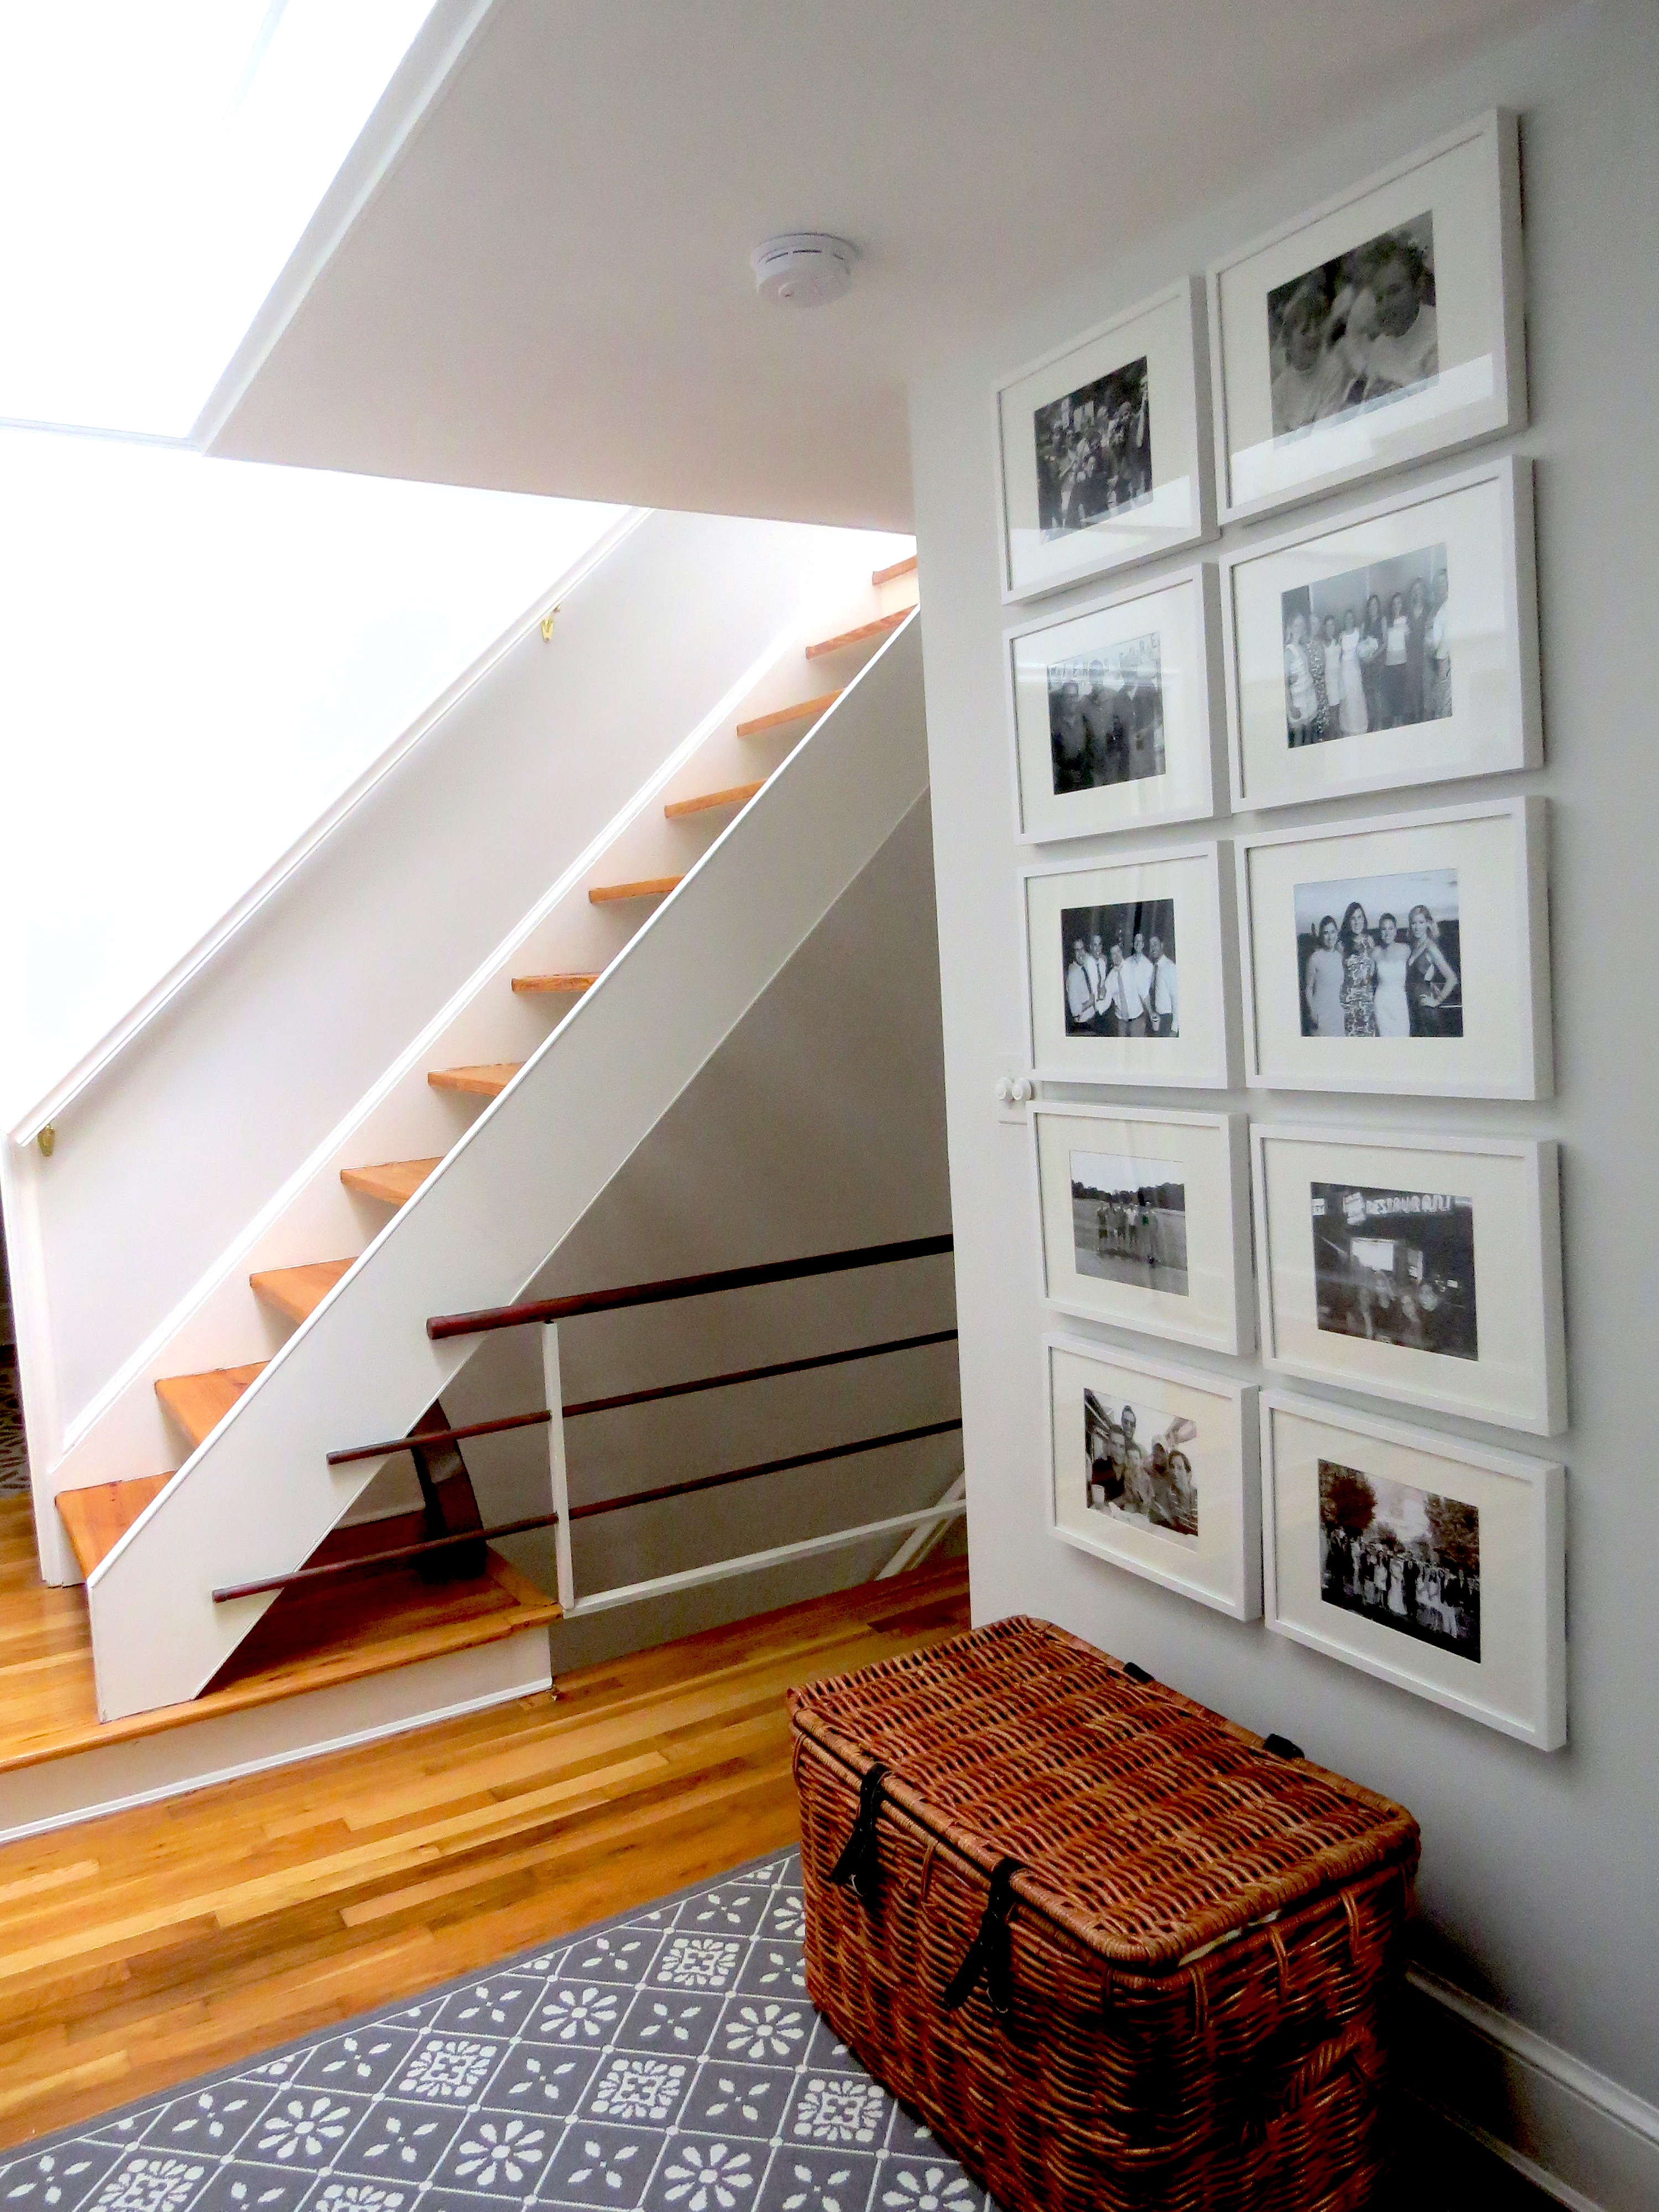
After moving into our home, Mr. Magpie and I hung a gallery wall in our loft to display photos of our friends and family. It was one of those gallery walls where it used four or so different frame sizes- you know the ones. I have seen them in magazines, online, and even in my friends houses. I want to love them. So much so that we planned it all out and it has been hanging for over a year in our home. However, every time I pass ours I cringe a little. Its too quirky. Its too busy. Its too unsymmetrical. Its always crooked. However, we need a place to display photos of the people we love and a gallery wall is a great way to do it while still maintaining the modern, minimalist look I love. Just not that style gallery wall.
Together Mr. Magpie and I hung it originally. And hanging it wasn’t pretty. There was lots of yelling in fact, and we rarely yell. I find comfort in the fact that we are not the only ones that struggle hanging gallery walls. Don’t believe me? Just google it. There are about a zillion bloggers whining about similar experiences. Maybe the pain would have been worth it if the final project delighted us (see painting stripes project) but Mr. Magpie doesn’t like its look either. Because hanging our gallery wall tested our marriage- kidding… kinda- I was reluctant to take it down and try again.
With Mr. Magpie on the campaign trail I vowed to re-do it as a surprise for his homecoming. I ordered the 8×10 photos from mpix and went with a black and white motive to get it some consistency. I chose photos from across our lifespan and that show our favorite friends and dear families- 5 from Brad’s camp and 5 from mine. With election day around the corner (thank God!), it was time to get down to business over the weekend.
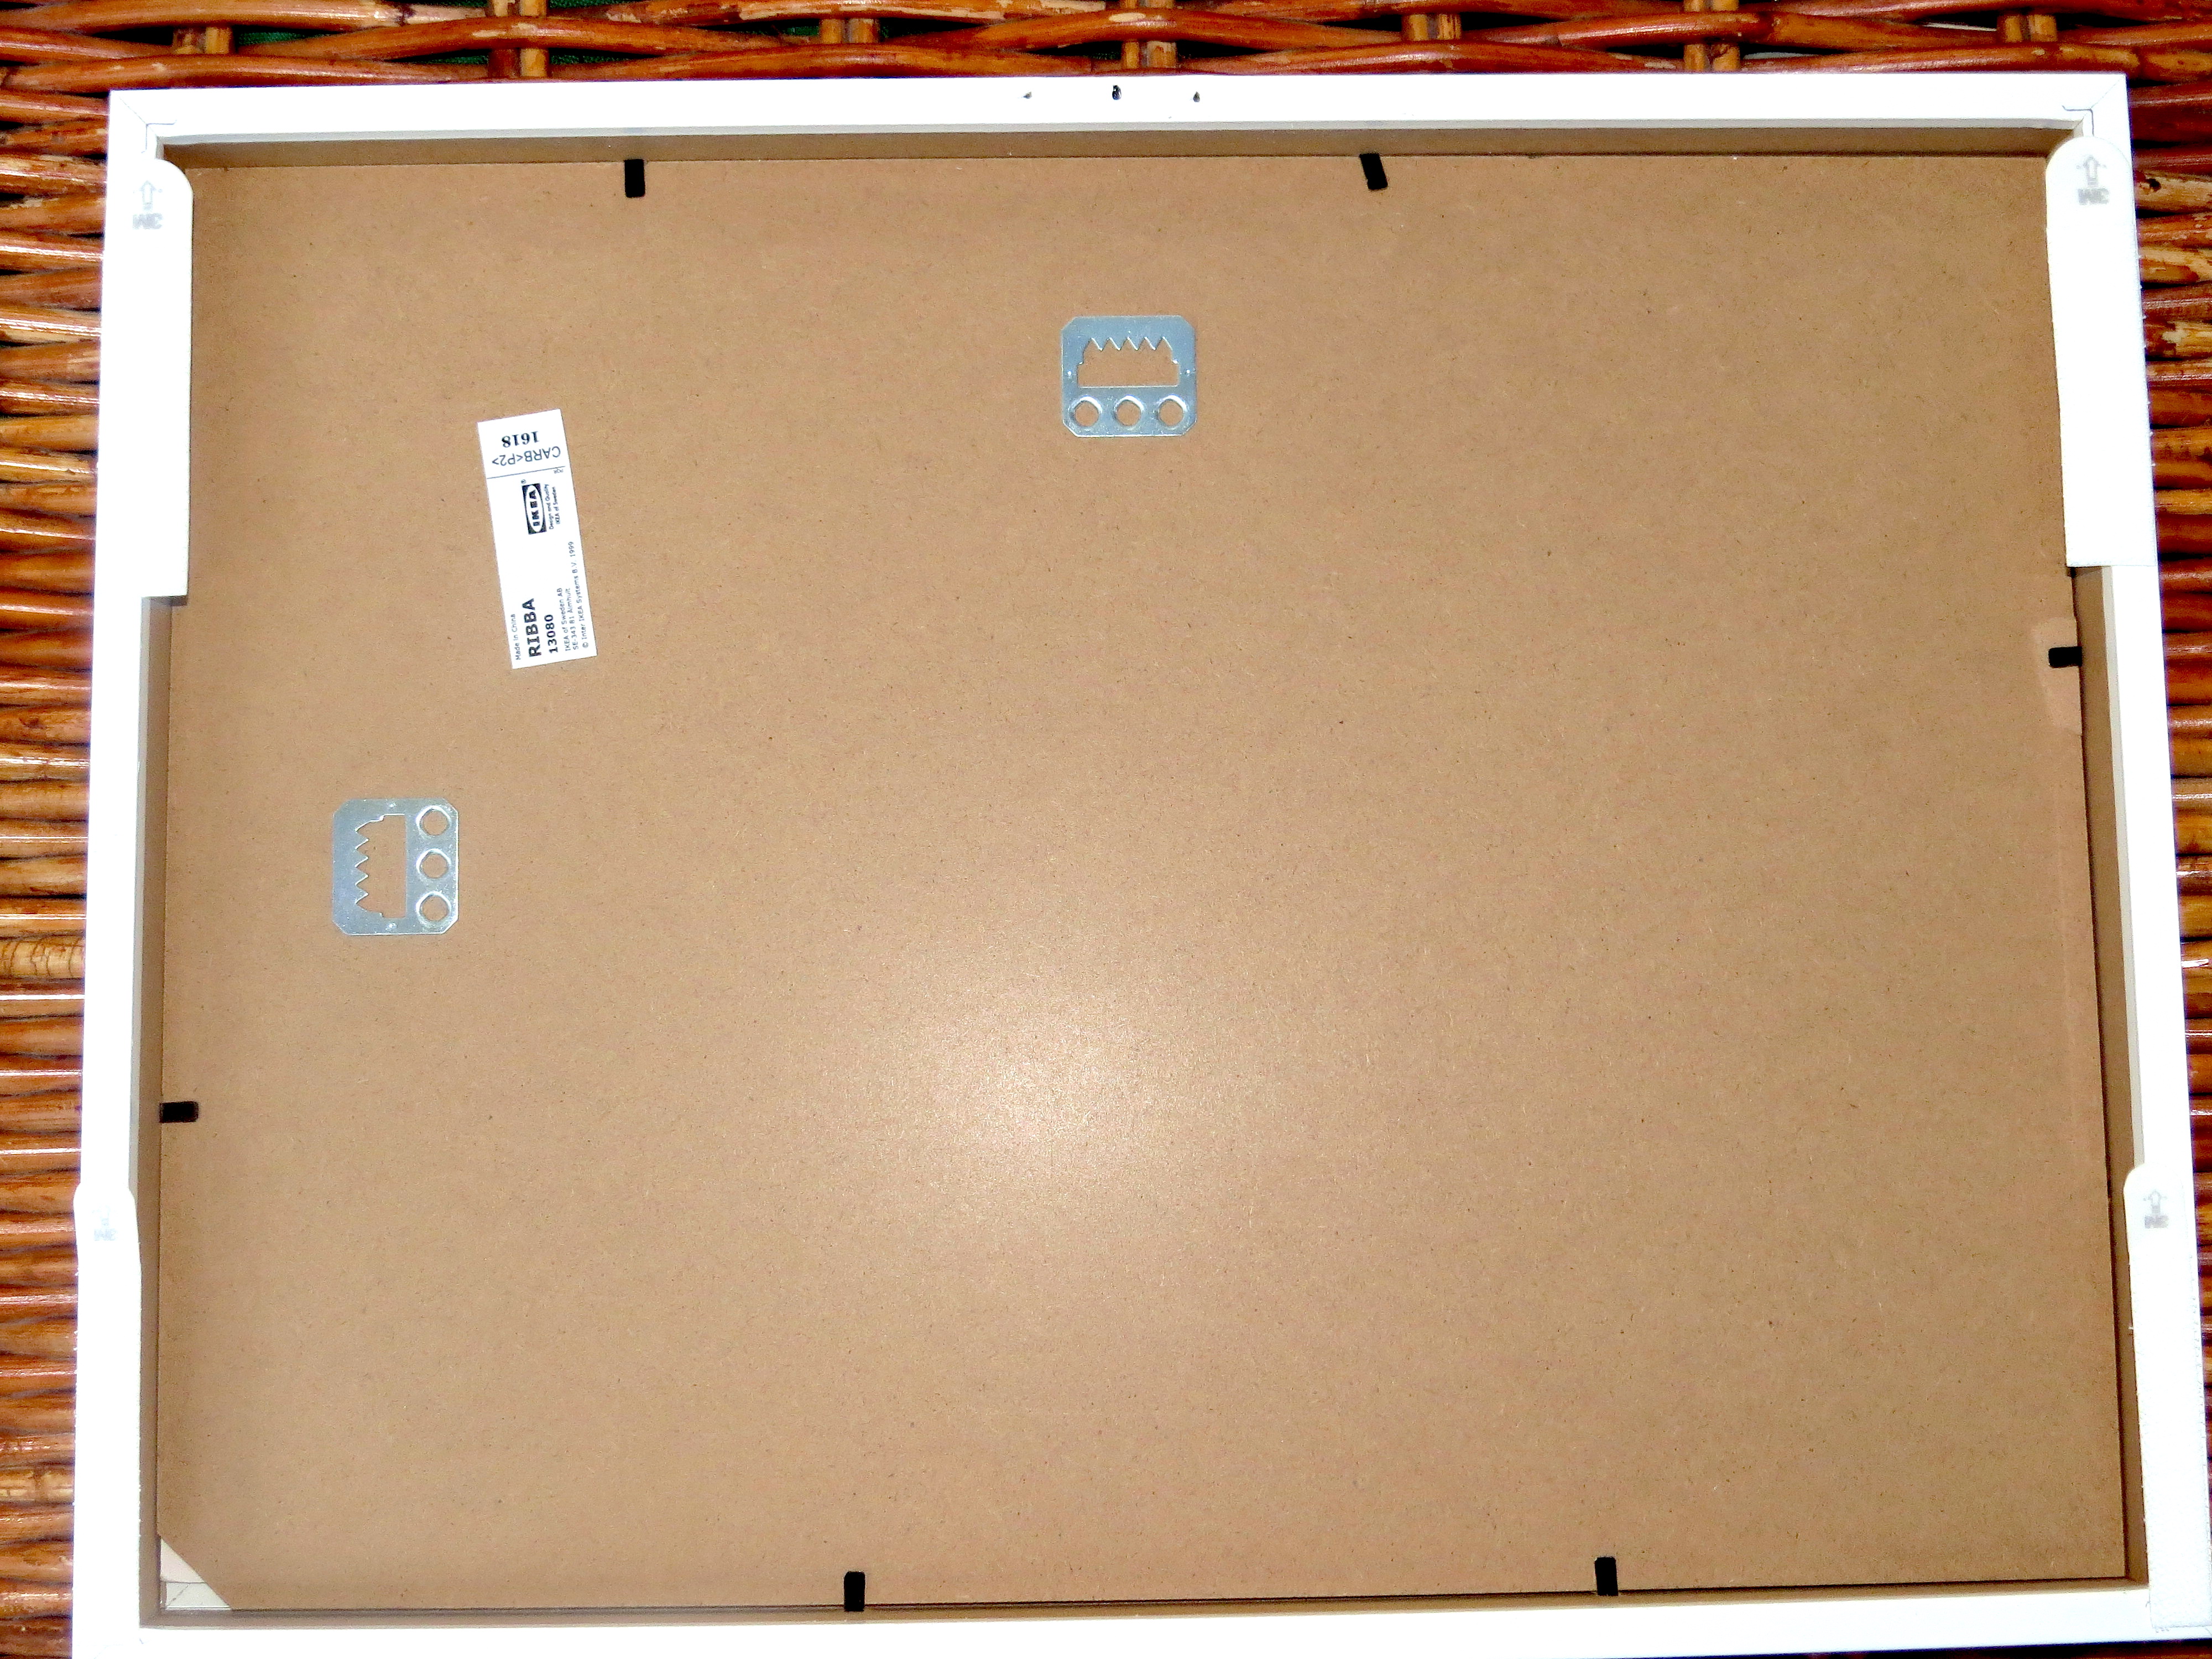
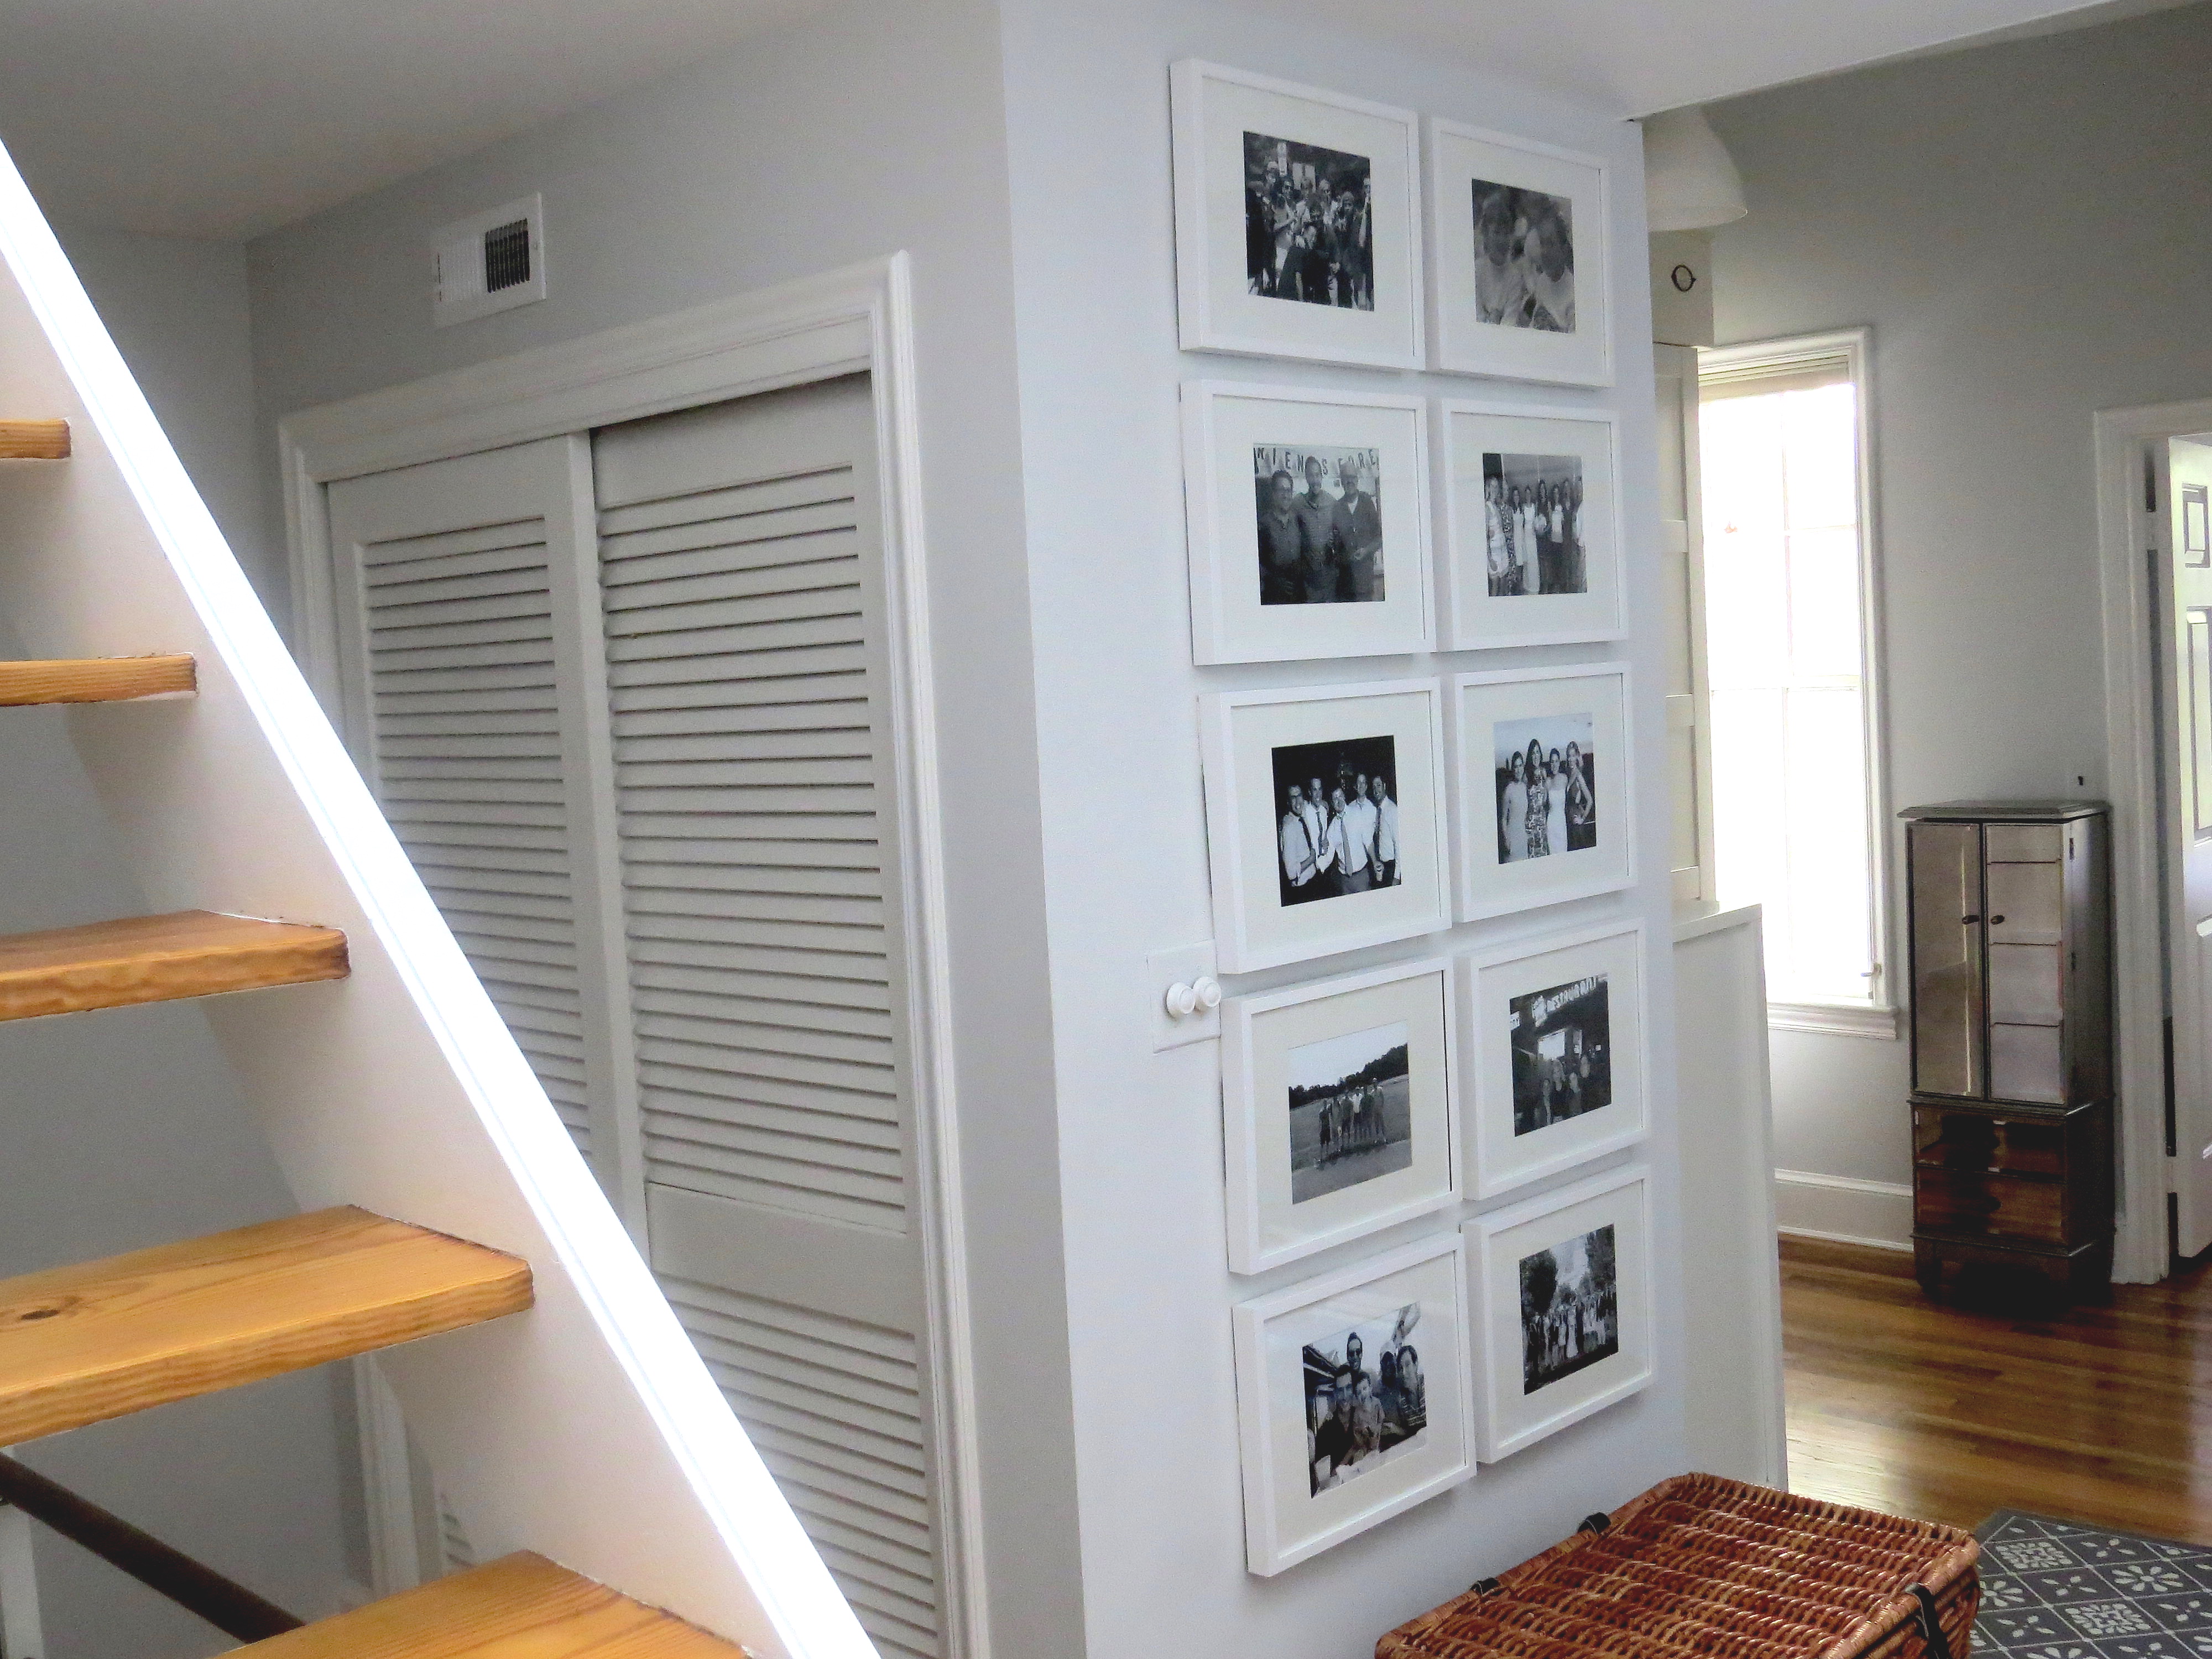
I love the look of the Ikea Ribba frame. It is a white minimalist frame with a beautiful matte giving photos a professional look. However, part of the struggle to hang the original gallery wall was because the Ikea Ribba frames I purchased in four sizes didn’t have hardware on the back. Making hanging them perfectly very, very difficult. This time, I came up with a solution that didn’t include bleeding fingers from adding wire and tiny nails to the backs of frames. Learn from my mistake (errr mistakes)- and follow this easy tutorial.
More on Mr. Magpie’s homecoming and reaction on November 9th.
What do I need?
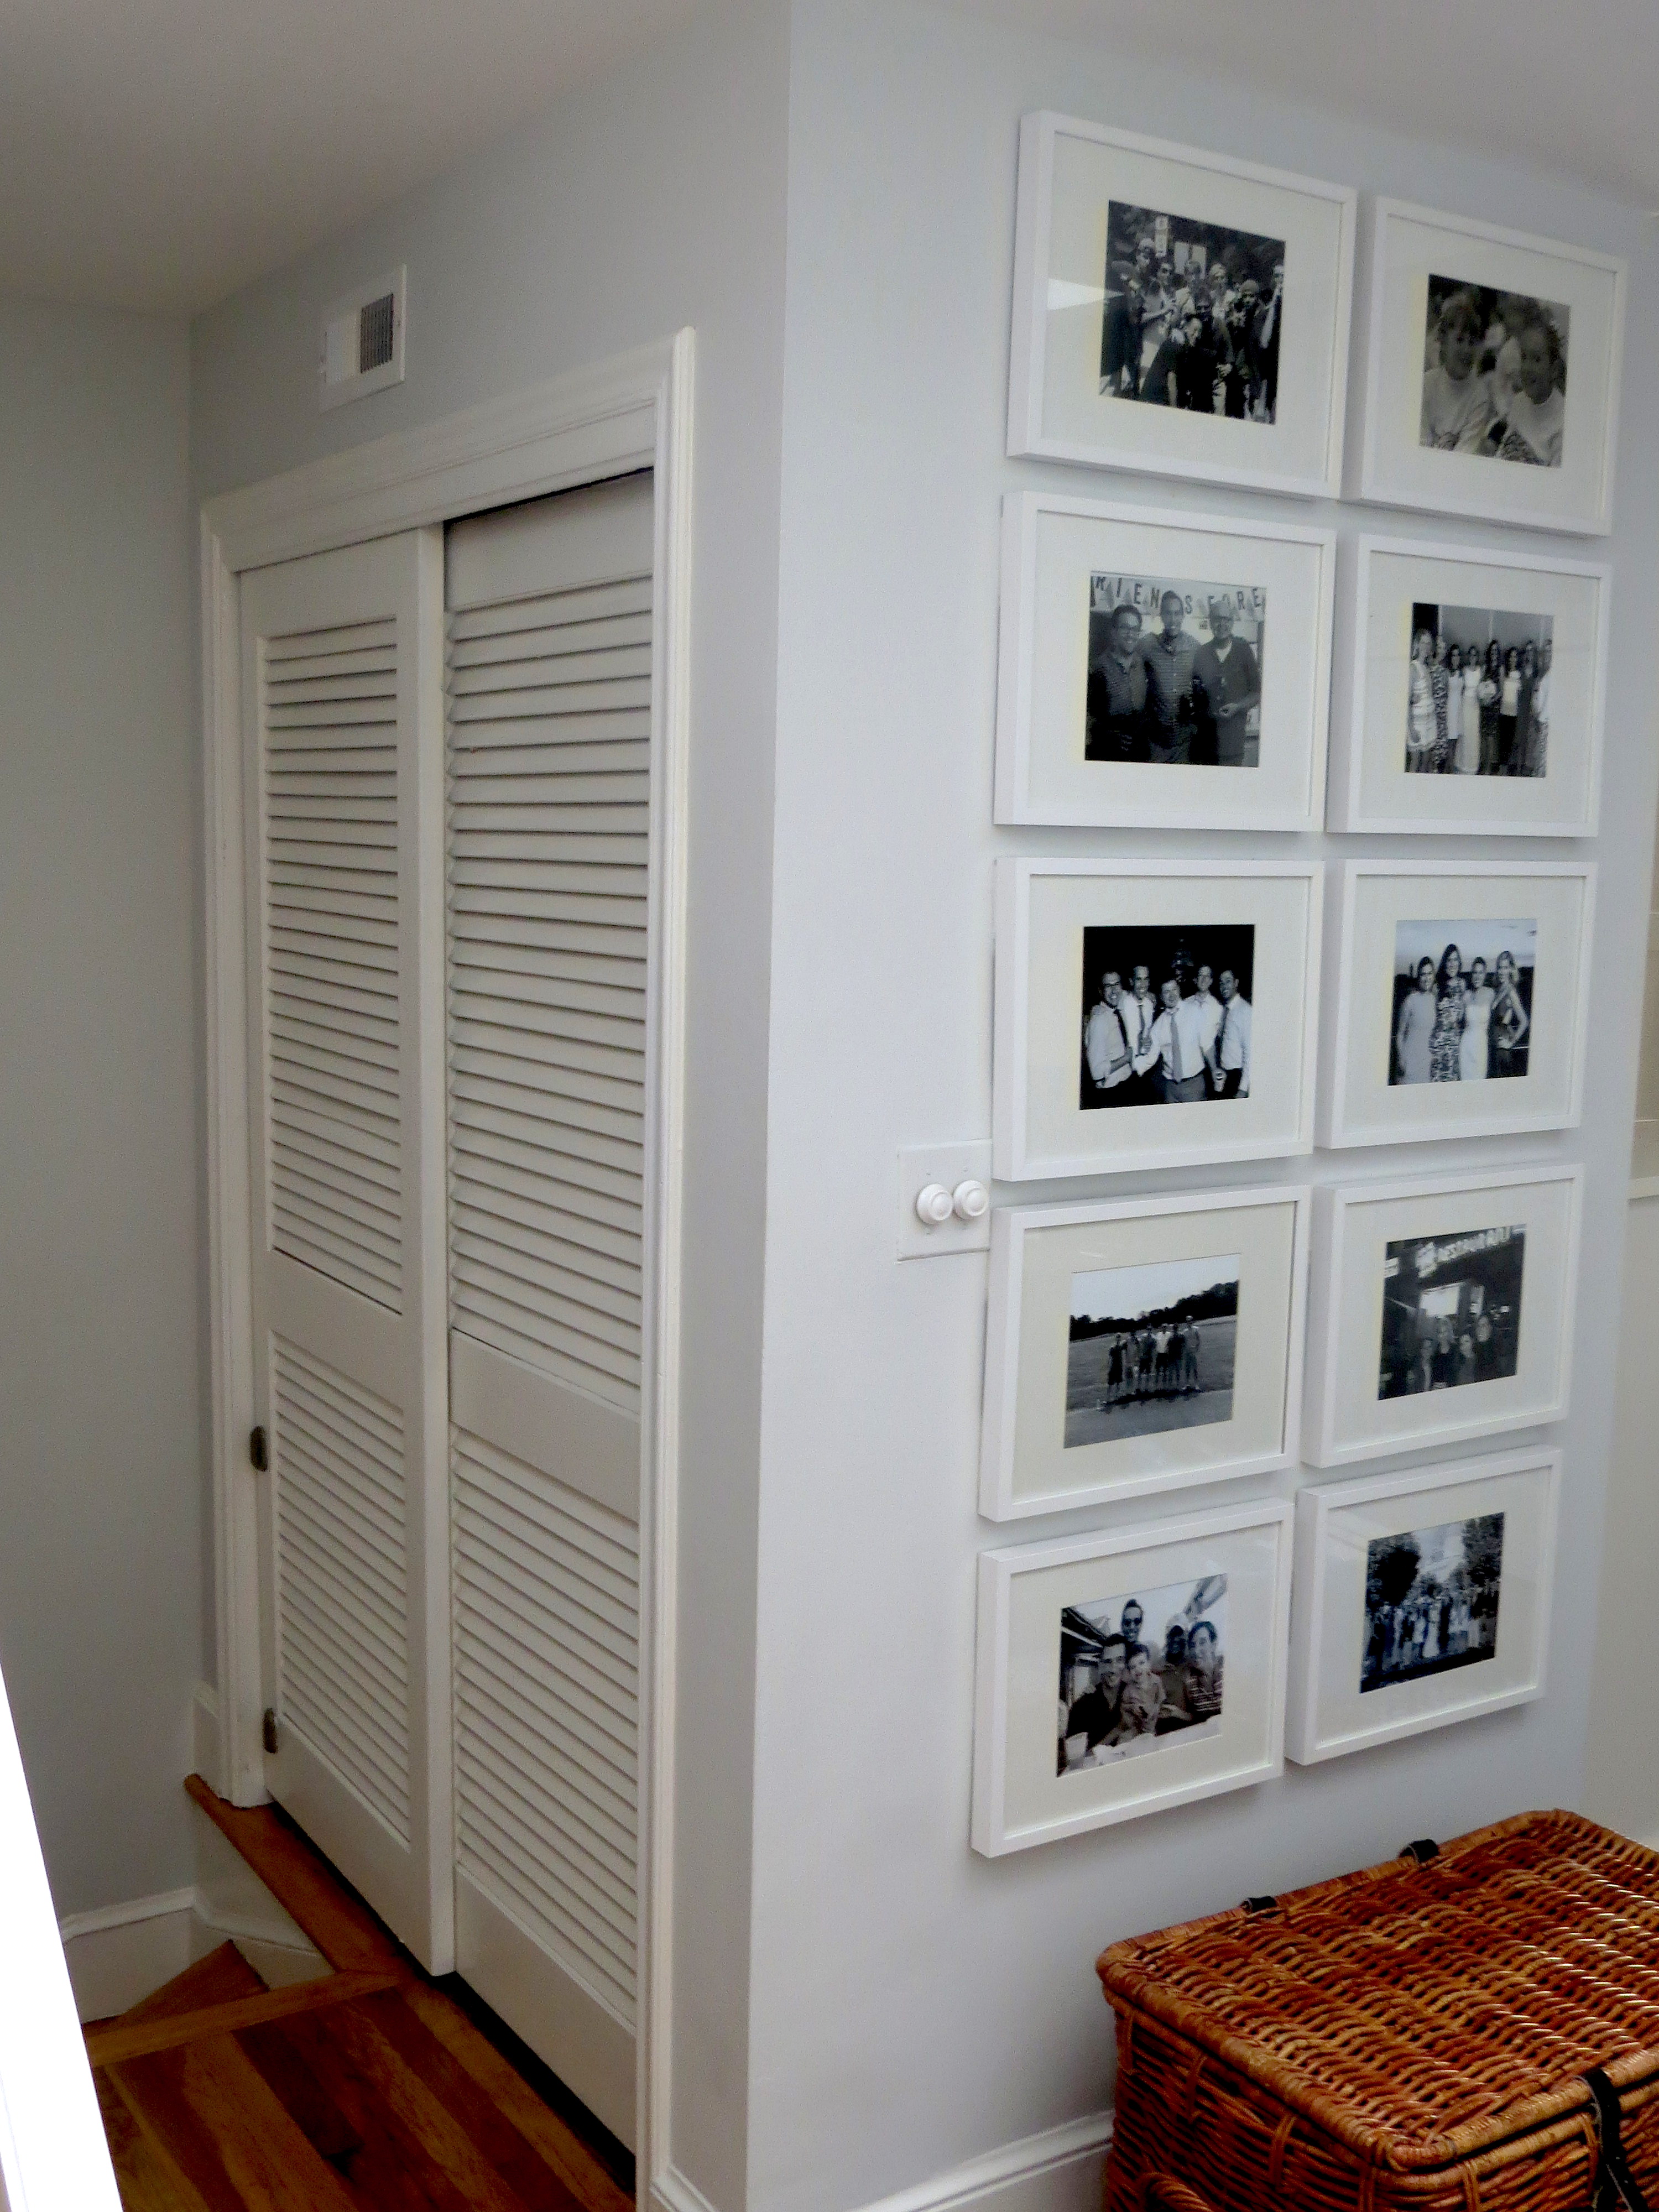
- Purchase ten 8×10 Ikea ribba frames.
- Purchase 20 sets or 40 total photo Command strips.
What do I do?
- Unwrap Ikea Ribba frames setting aside corner protectors.
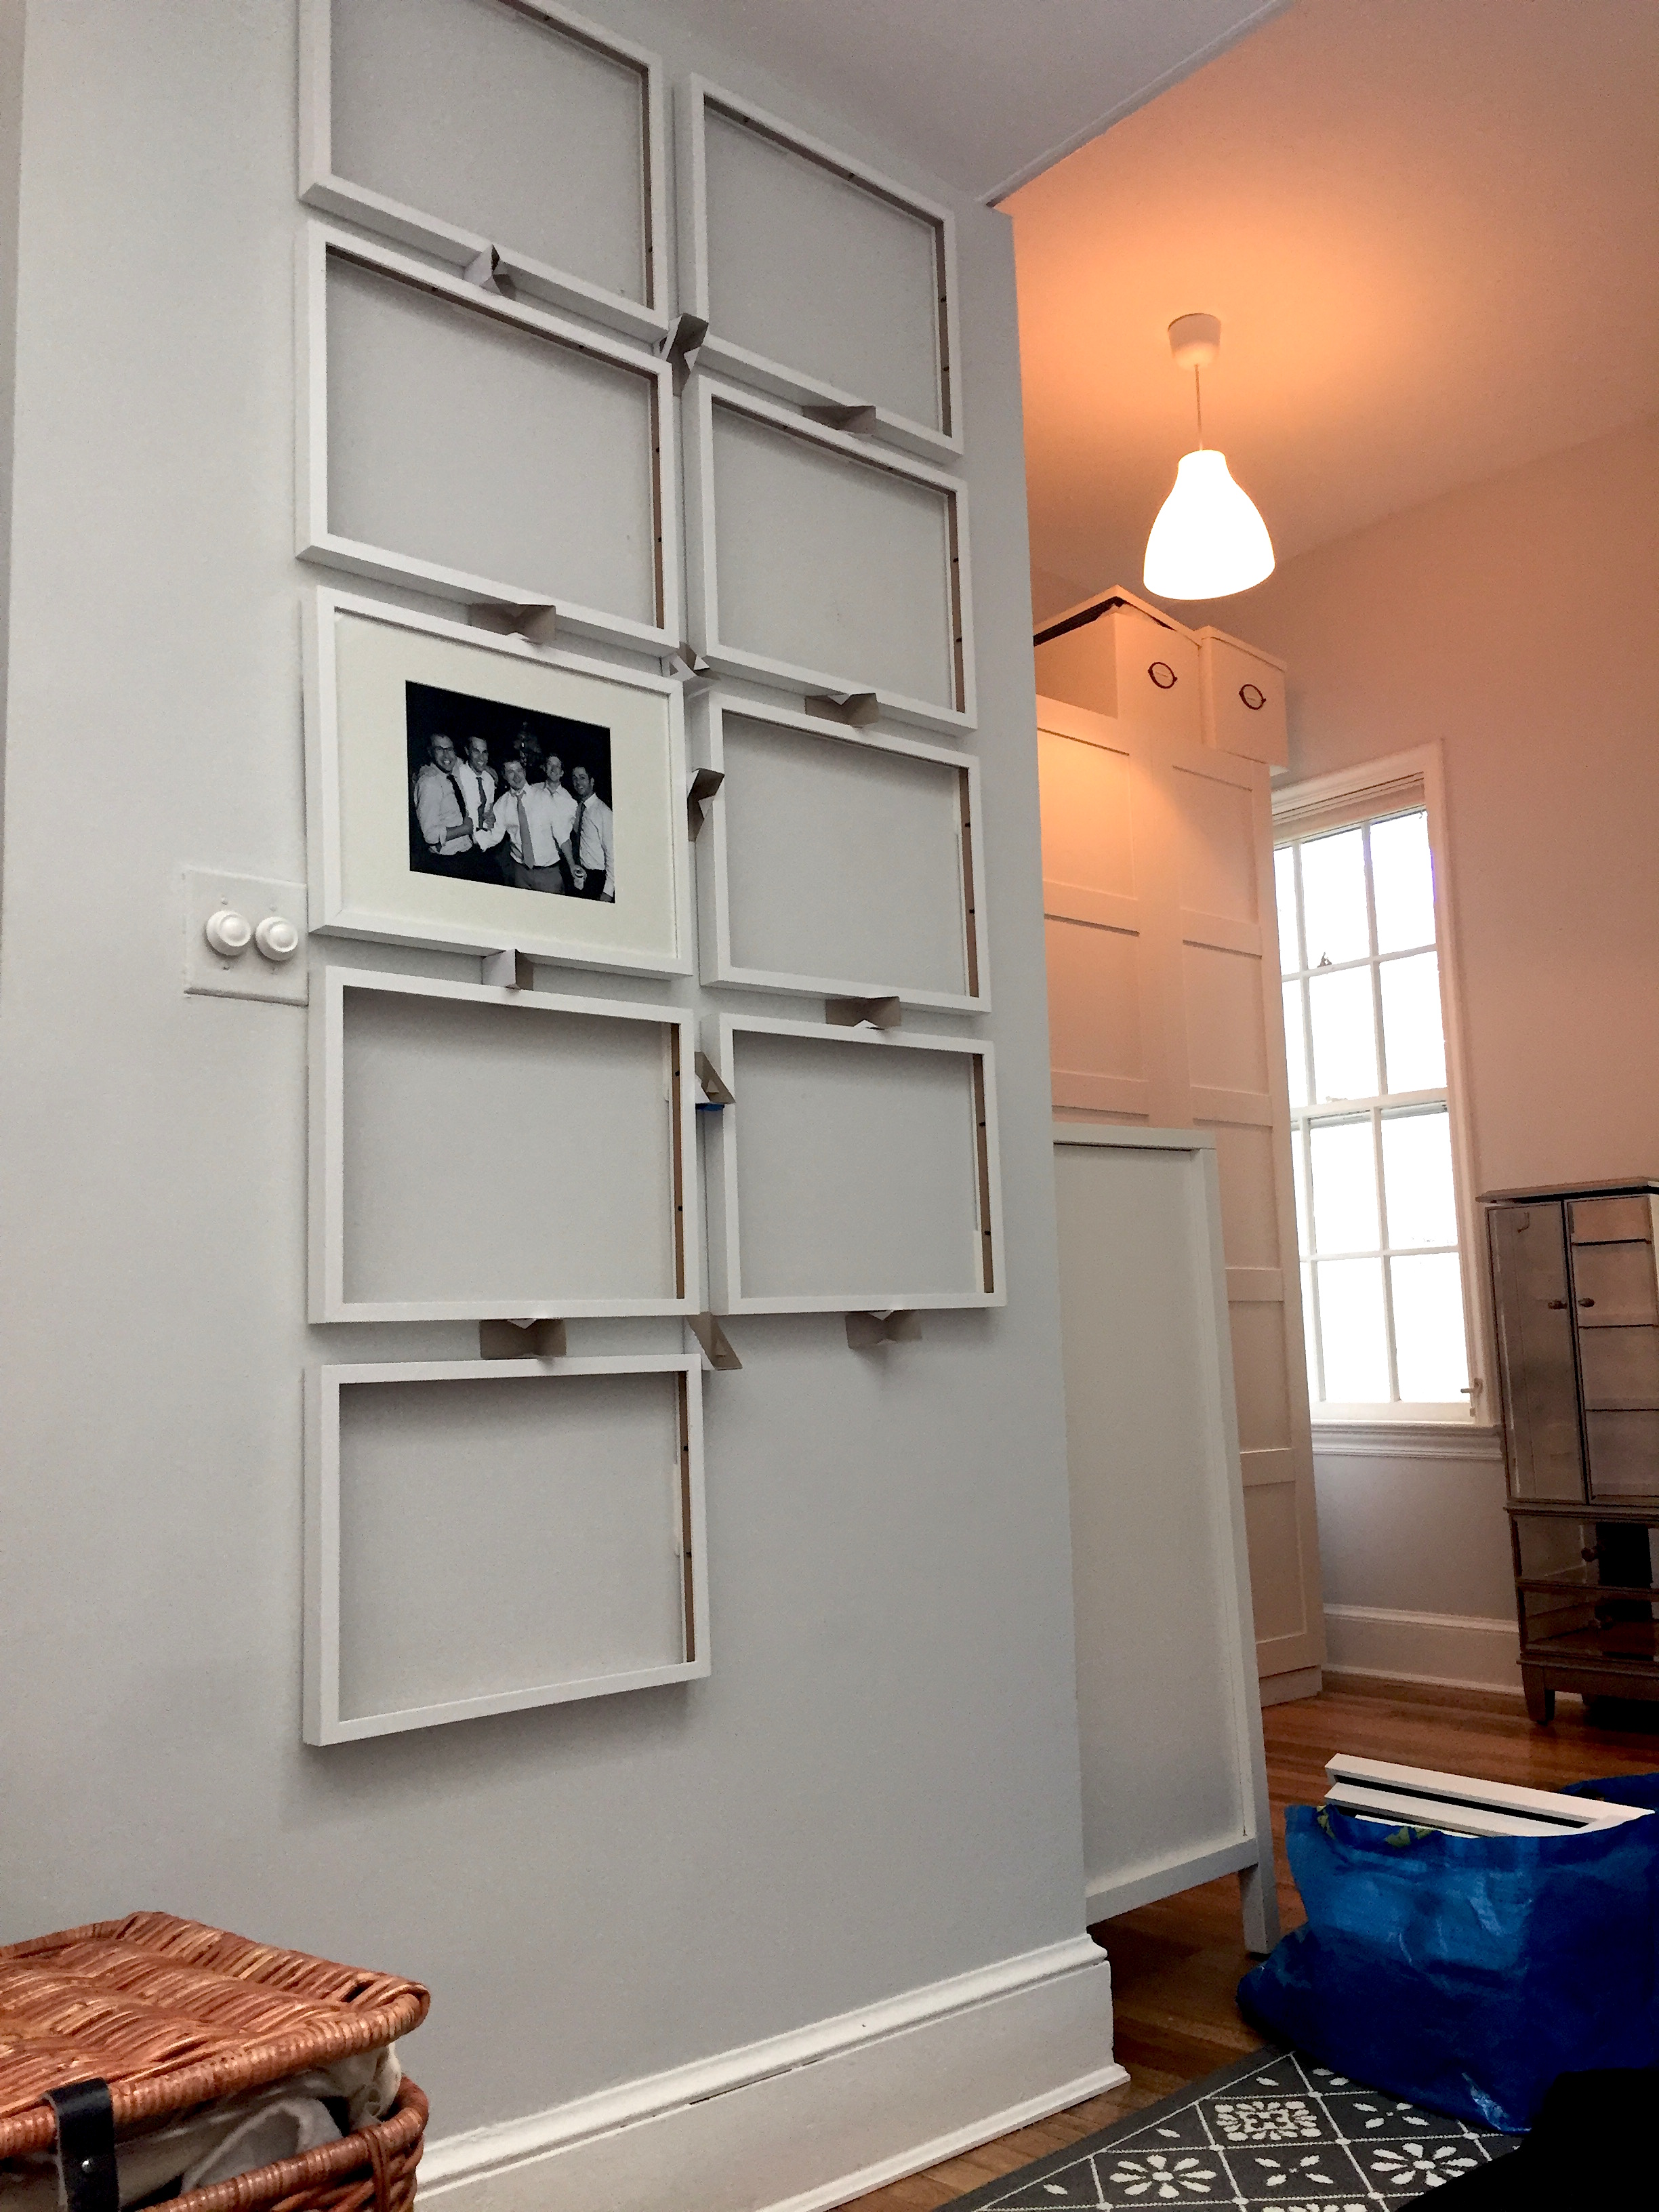
- Place photos in each frame. (Note: As you will see in the photos below, I originally hung the empty frames then added the photos in after- this step was unnecessary!)
- Measured height and width of space where you will hang gallery.
- Within gallery wall space, measure to find the center of the space.
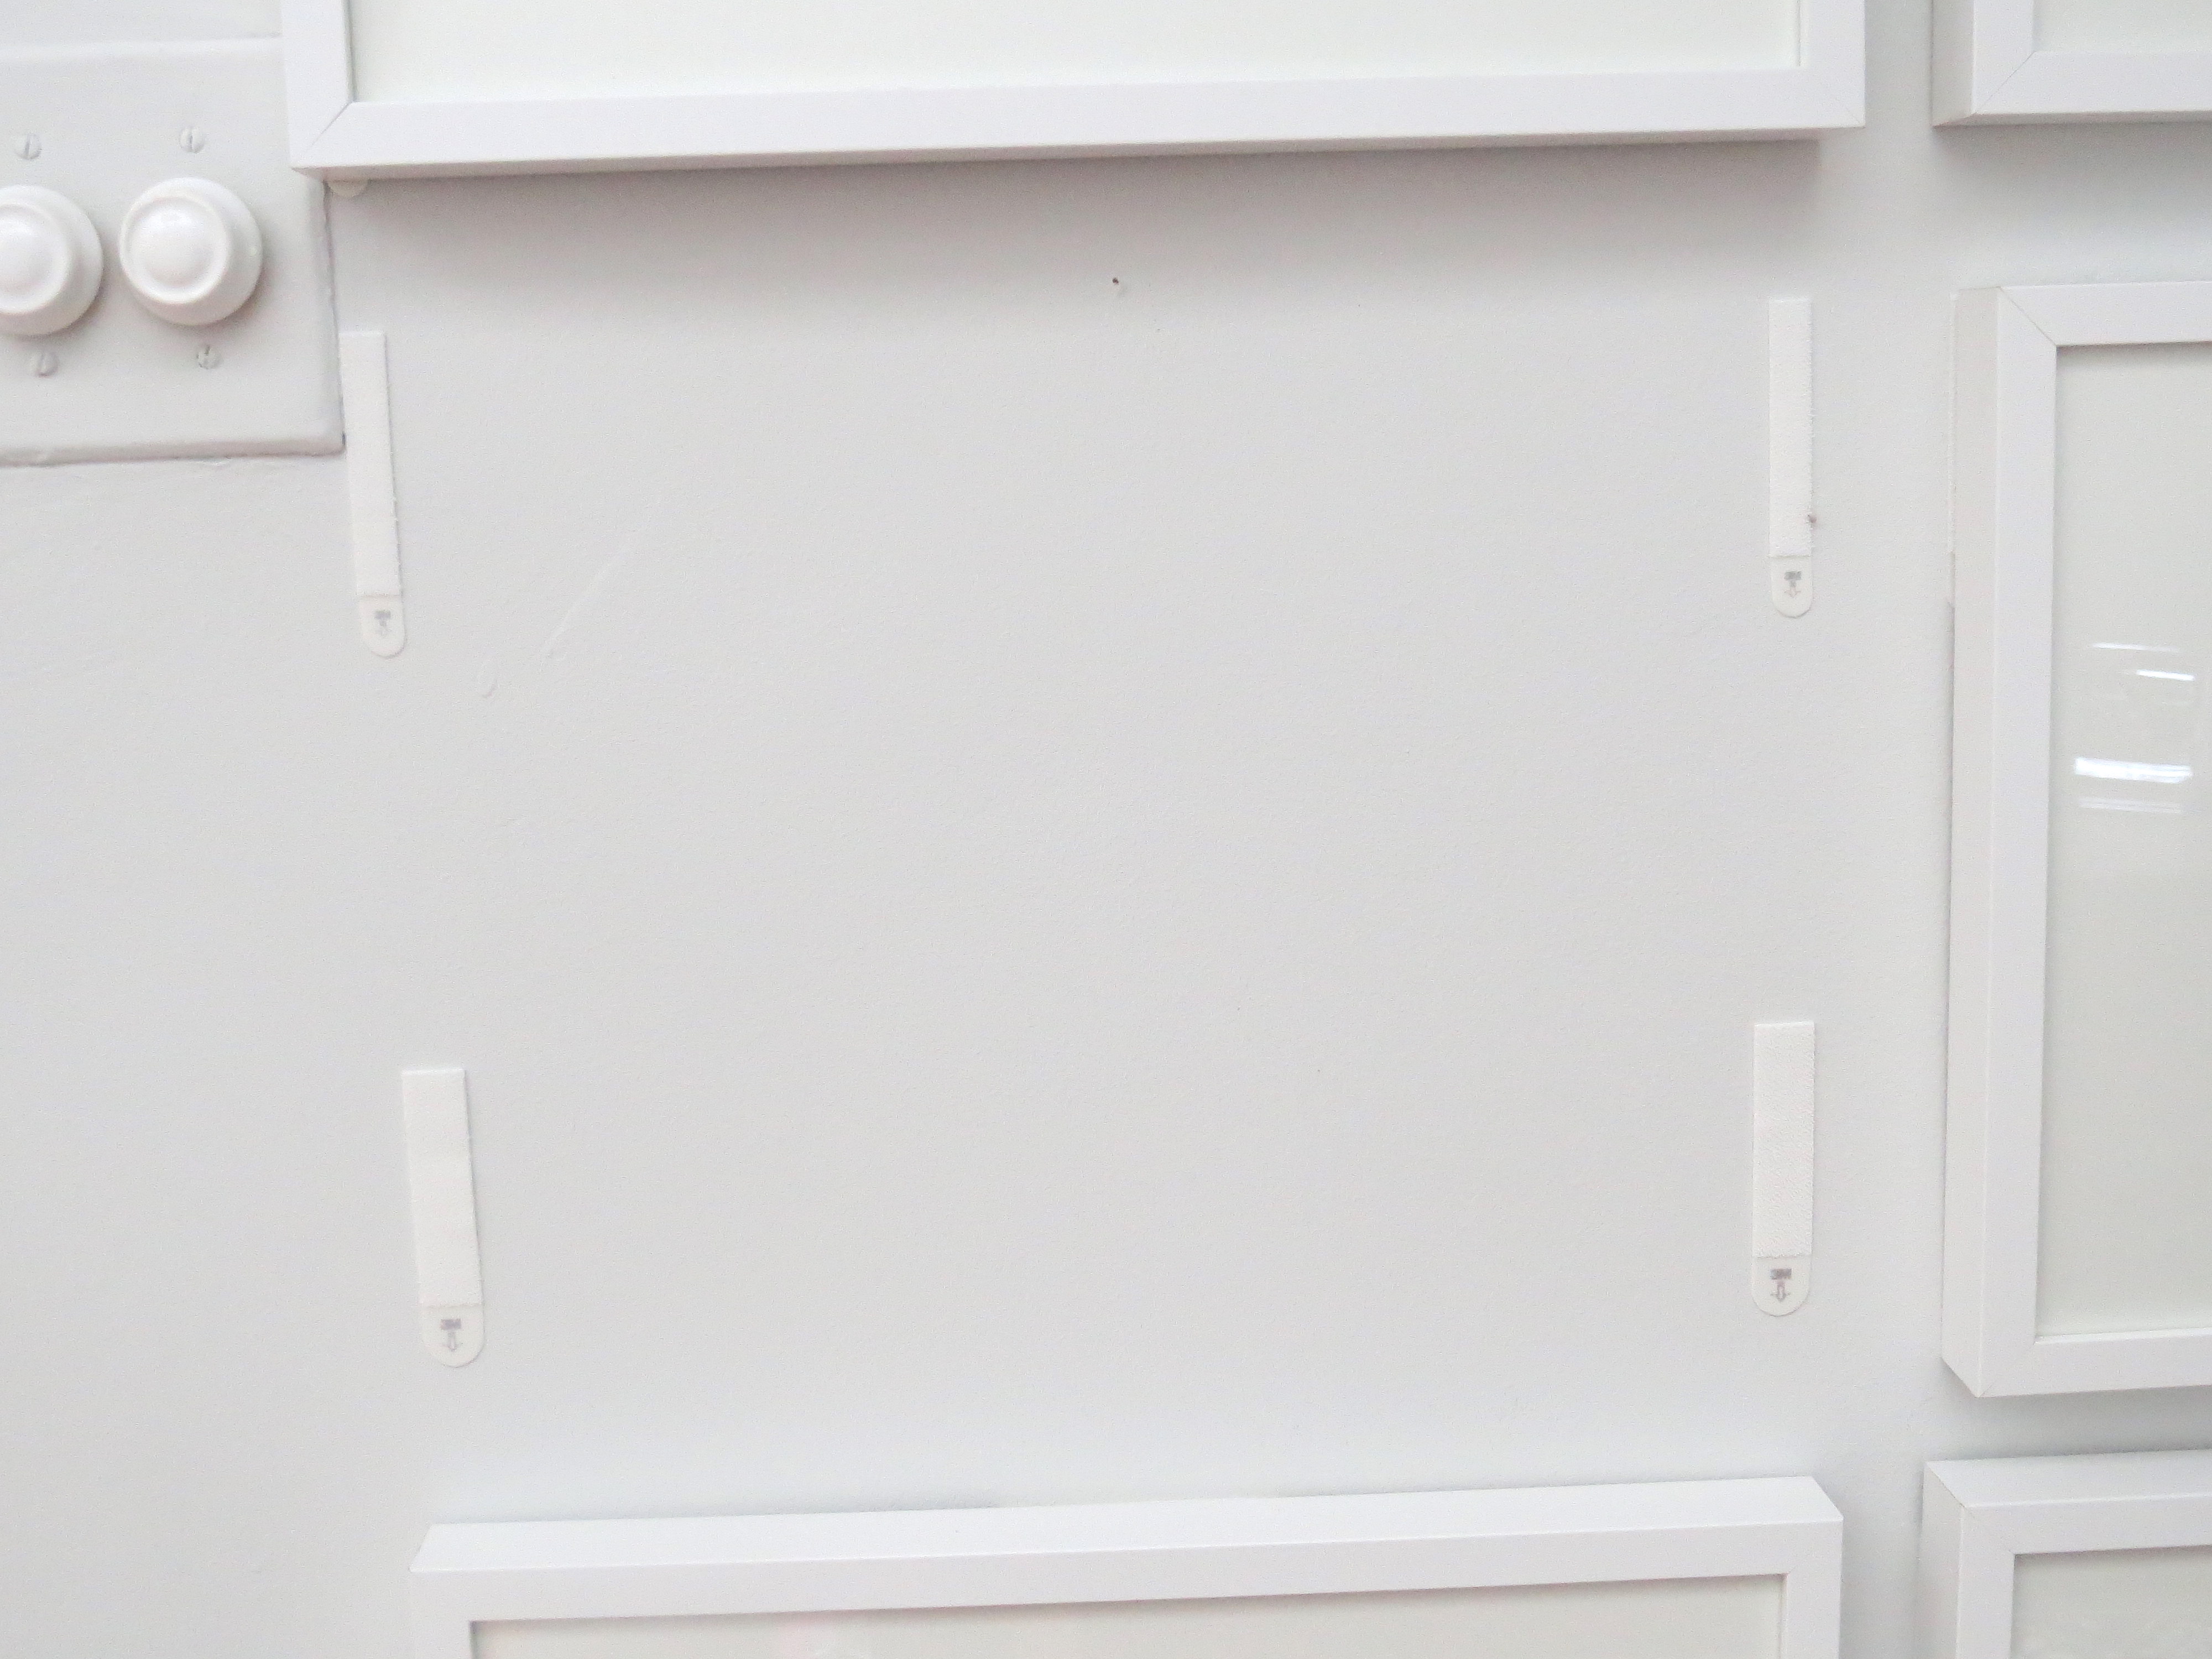
- Place one of the Ribba frame corner protectors with a round of painters tape on the back in the center of the gallery space. These will serve as the perfect spacers between frames so you do not need to measure anything.
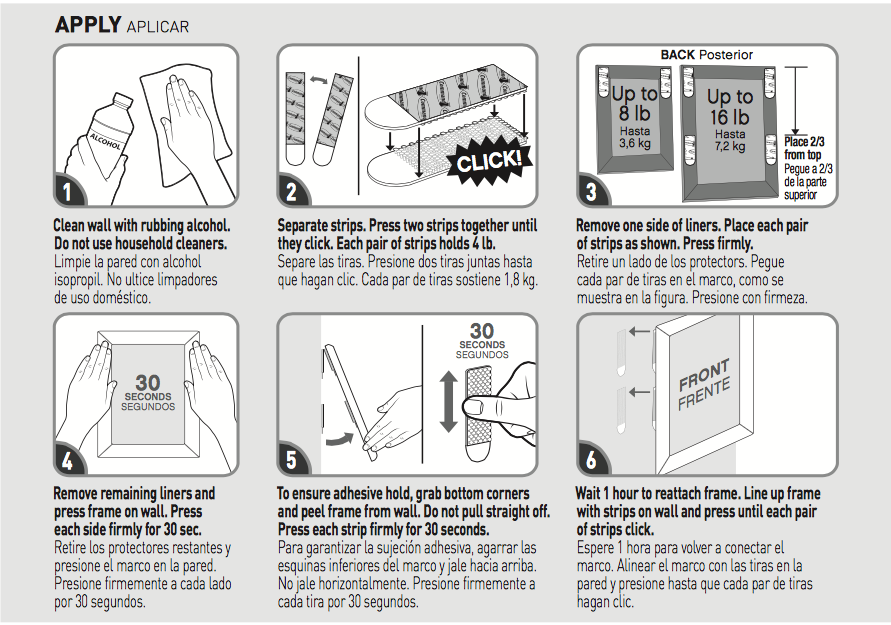
- Separate Command strips. Press two sets of two strips together until they click.
- Remove one side of liners. Place each of four strips on four corners of frame. Press firmly.
- Remove remaining liners and press frame on wall centering next to corner protector. Press each side firmly for 30 seconds.
- Place additional corner protectors above and below first frame.
- Repeat steps 6-8 hanging each frame until your gallery is complete.
Photographs:


0 Comments